Public Key Authentication (PKA) is a mechanism to authenticate a legit user without introducing any PIN (see Notes below). The authentication is performed by signing a challenge and checking the signature result.
- A Pico HSM #A contains a private key, whose public key will be used for authentication.
- The public key of #A is registered into a second Pico HSM #B.
- When a user wants to login into #B, #B generates a challenge that is passed to #A for signature.
- #A signs the challenge and returns the signature.
- #B verifies the signature against the challenge with the public key of #A, previously registered.
- If the signature is valid, #B grants access to the user.
To enable PKA, the device must be initialized beforehand. In case the device has secret/private keys, all shall be exported and reimported when the set up is finished.
Requirements
To take advantage of PKA, the following is required:
- Two Pico HSM: one will be used only for authentication (it can be any device able to generate a private key and sign arbitrary data).
- SCS3 tool to authenticate the user. At this time, OpenSC does not support PKA, only initialization.
- A private key of ECC 256 bits.
Usage
Before using SCS3, it must be patched scs3.patch.txt. See SCS3 for further details.
Generate the authentication key
On a secondary device, generate a private key, on the ECC 256 bits (brainpoolP256r1 or secp256r1). Label it with an easy name, such as “Authentication”.
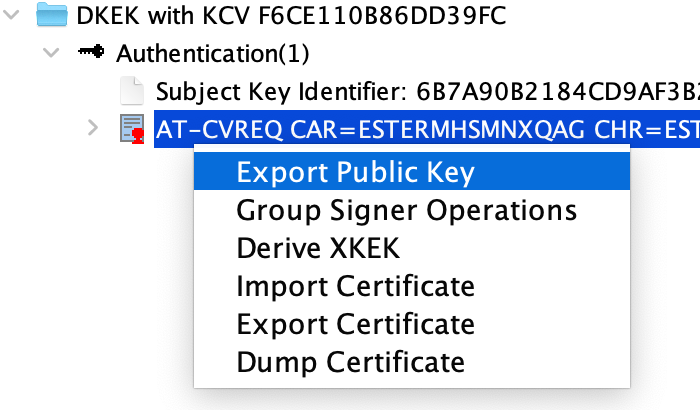
Once finished, export the public key.
Initialization
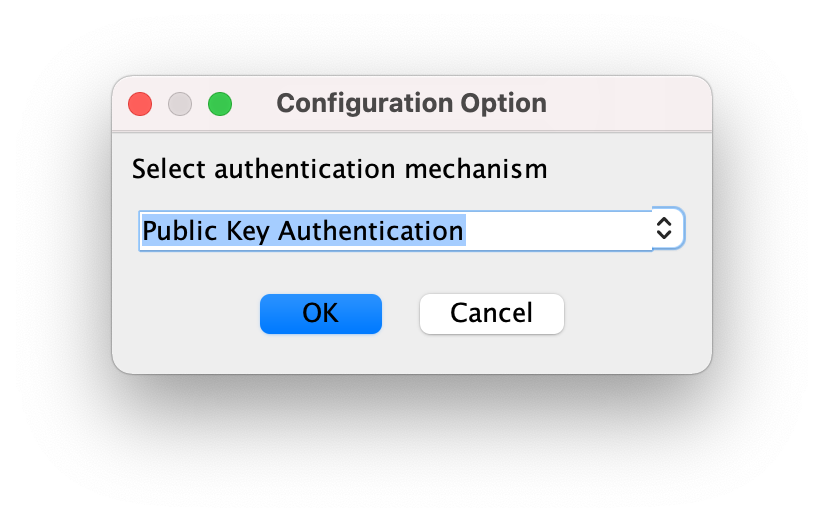
On the primary device, initialize it. When prompting for an authentication mechanism, select “Public Key Authentication”.
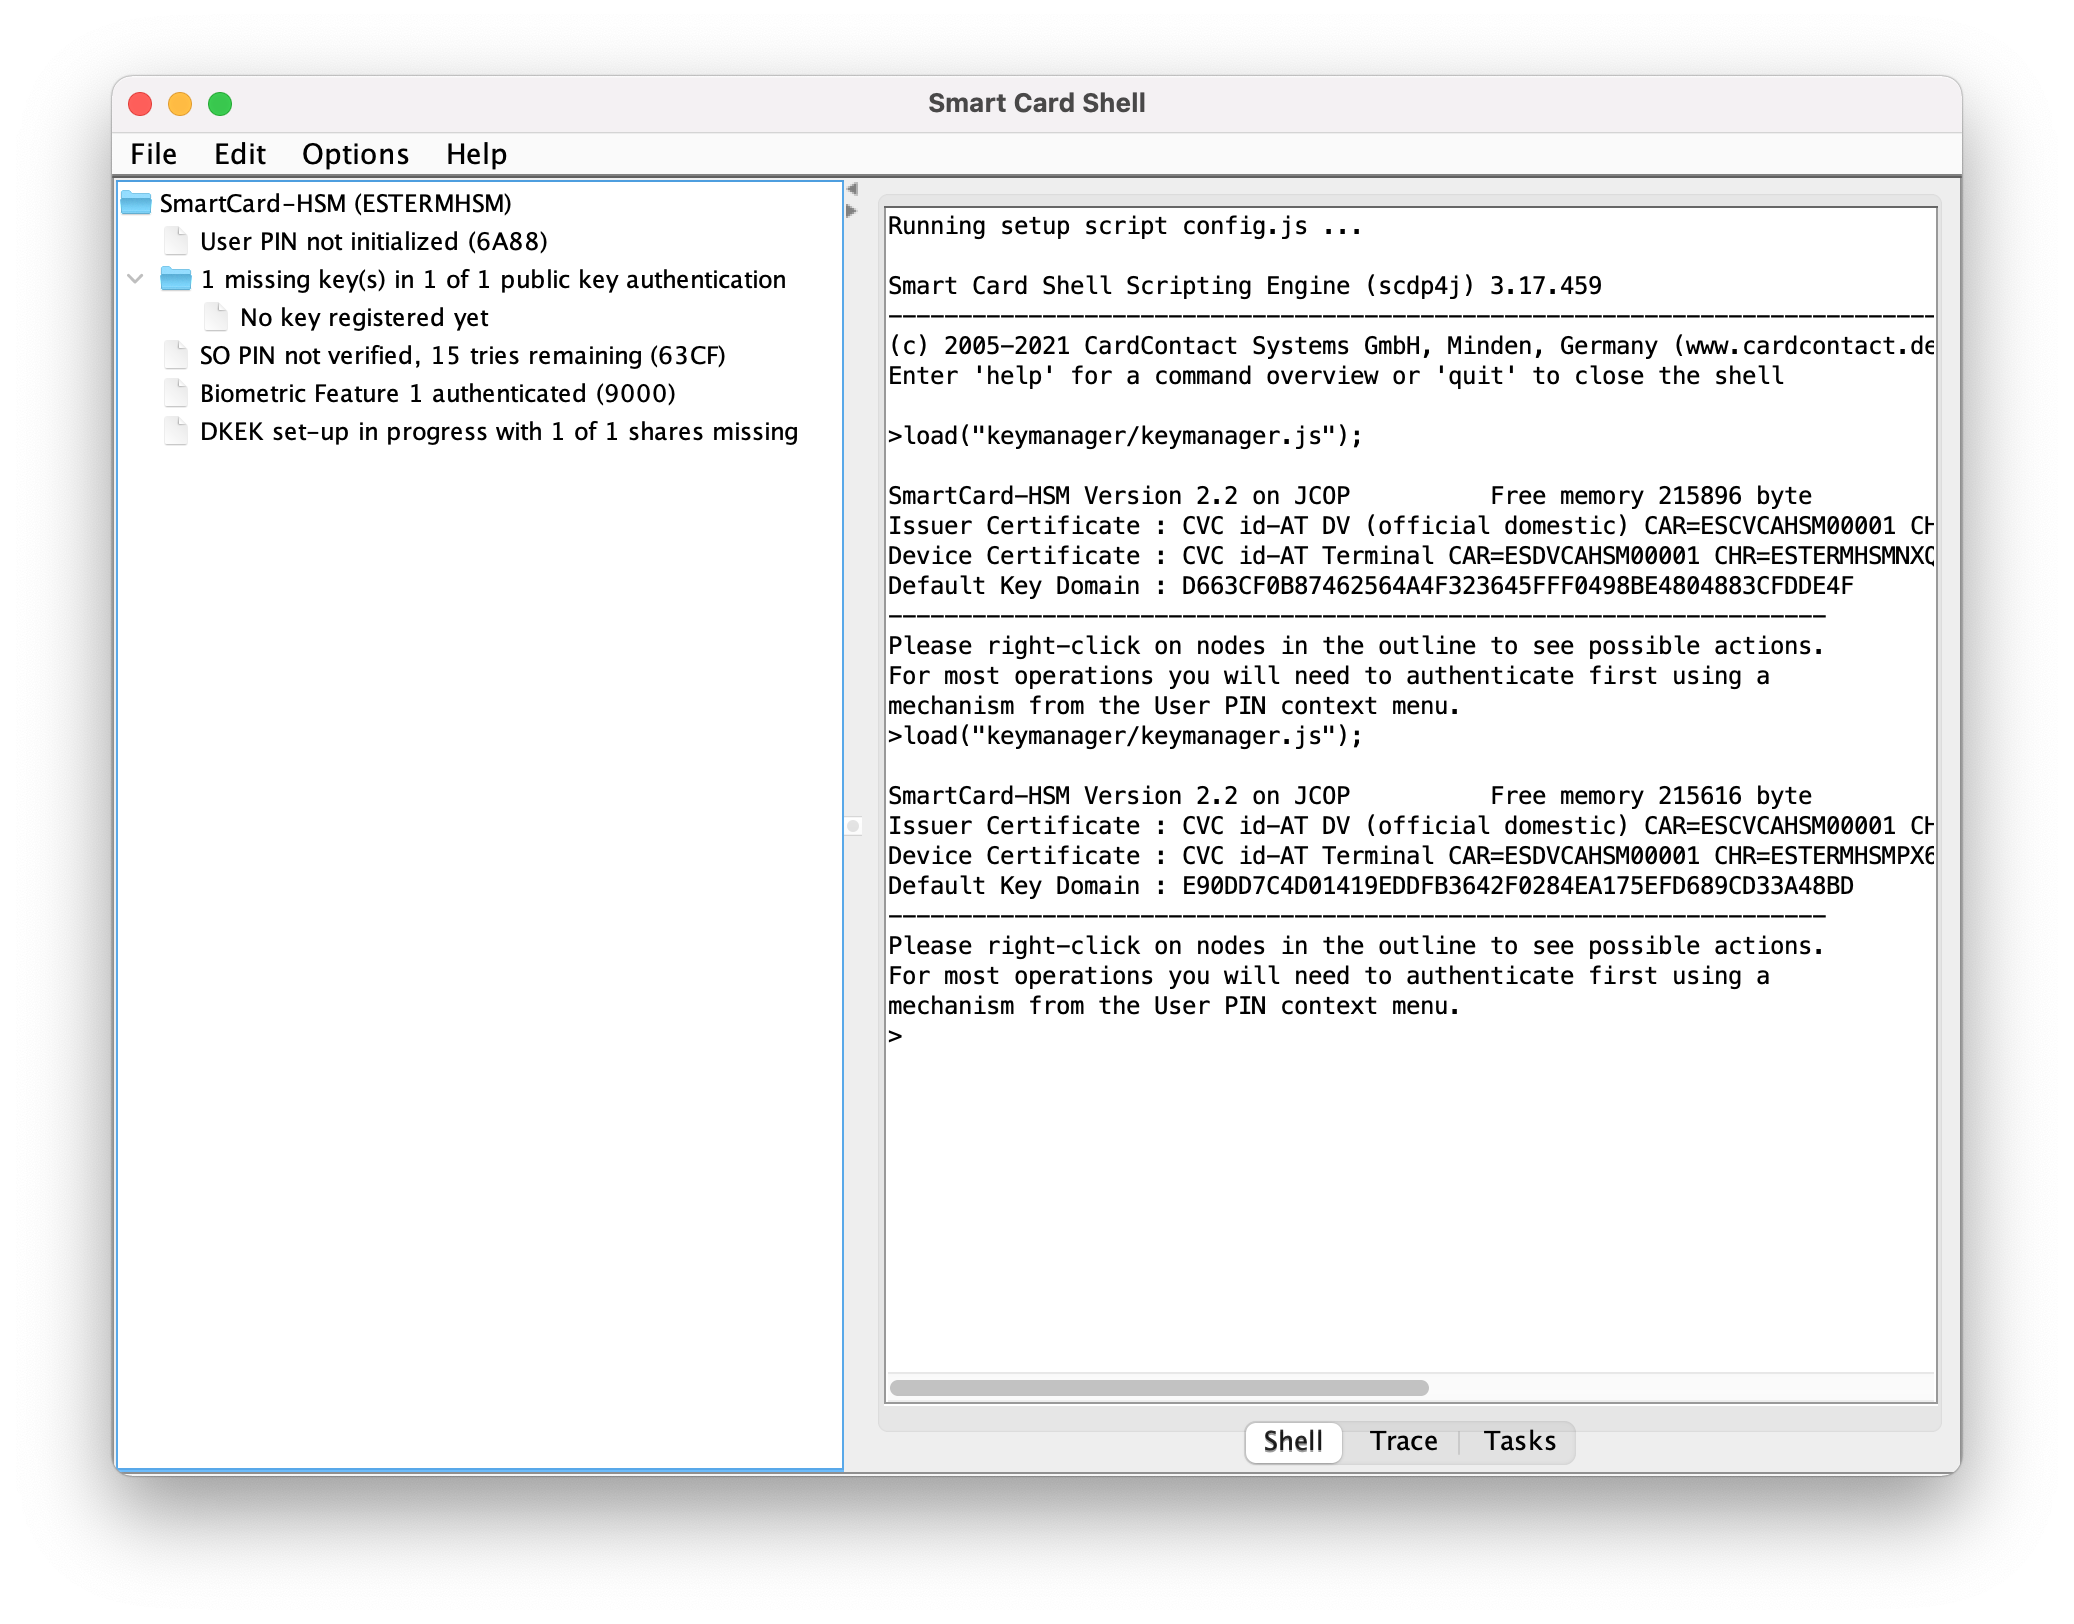
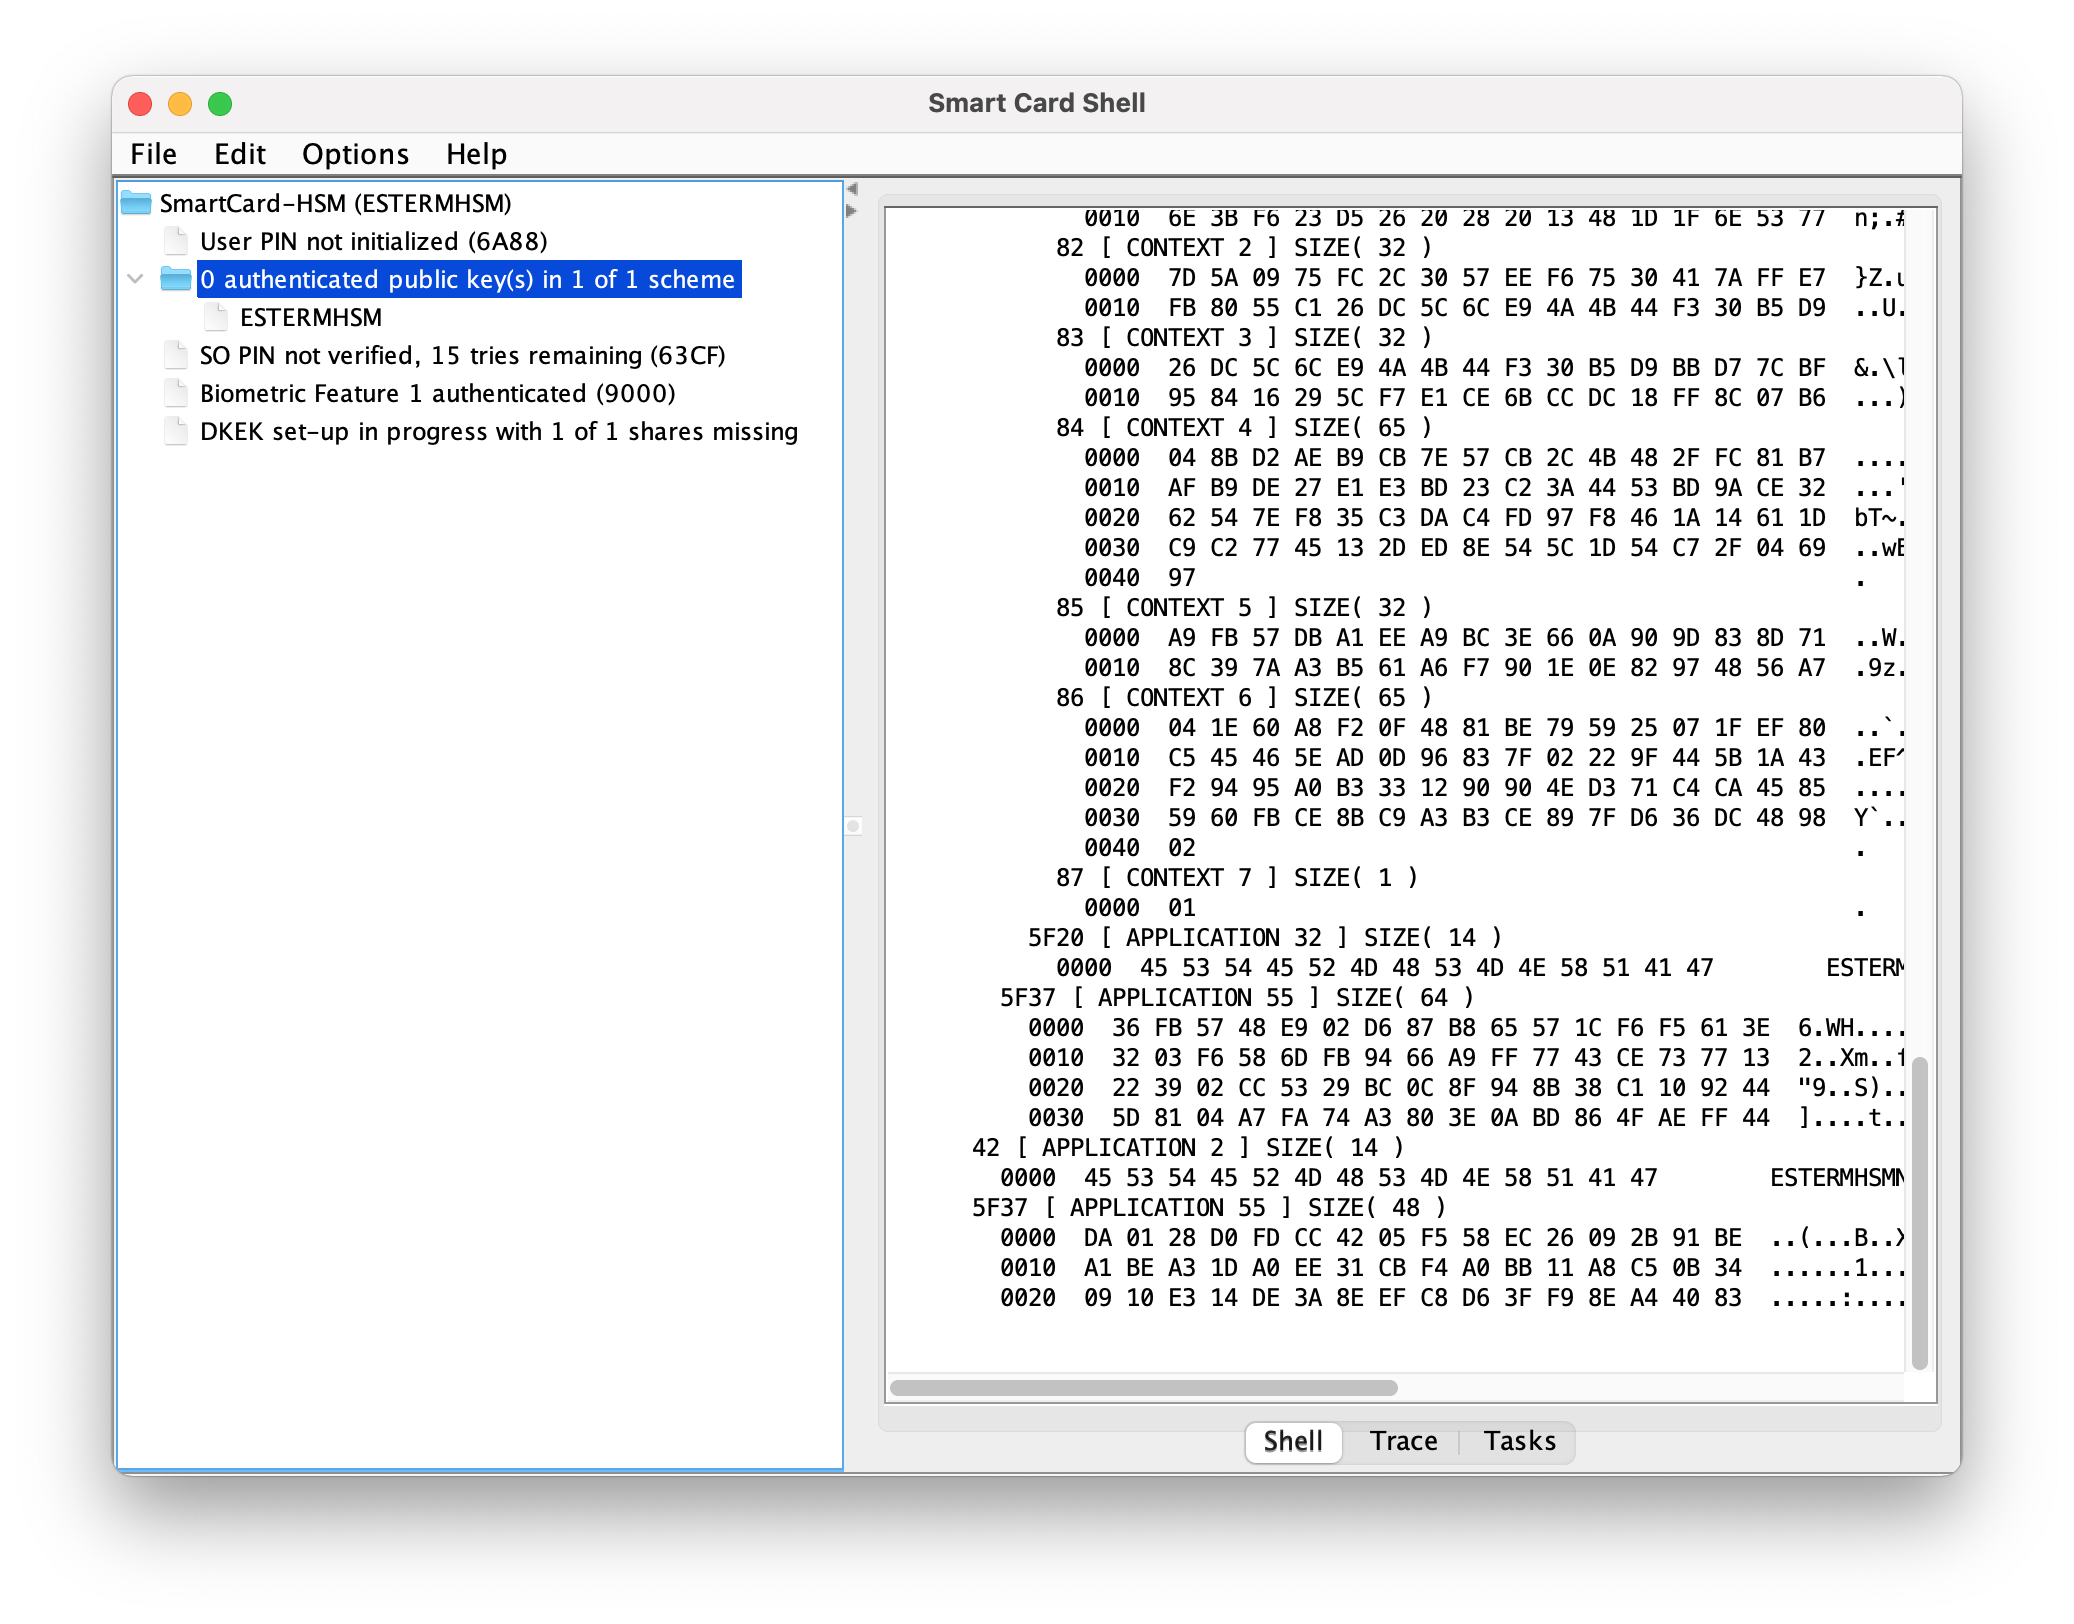
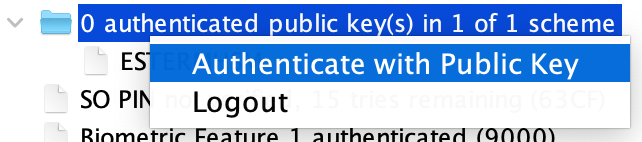
Once finished, register the exported public key. A message of 0 authenticated public key(s) in 1 of 1 scheme will appear if it is properly registered.

Authentication
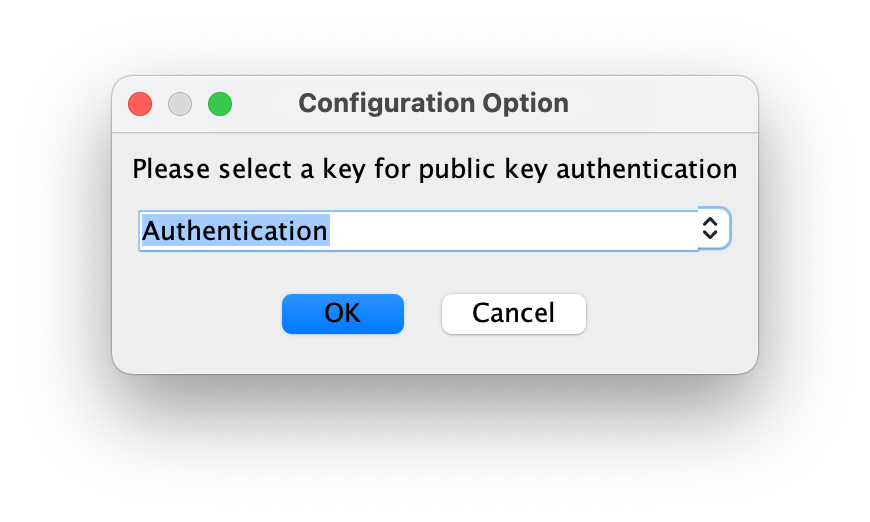
Plug the secondary device that stores the private key (do not load the device in the SCS3 tool) and initiate the public key authentication.
Select the secondary card and the Authentication private key (or the name you labeled it).
Introduce the PIN of the secondary device.
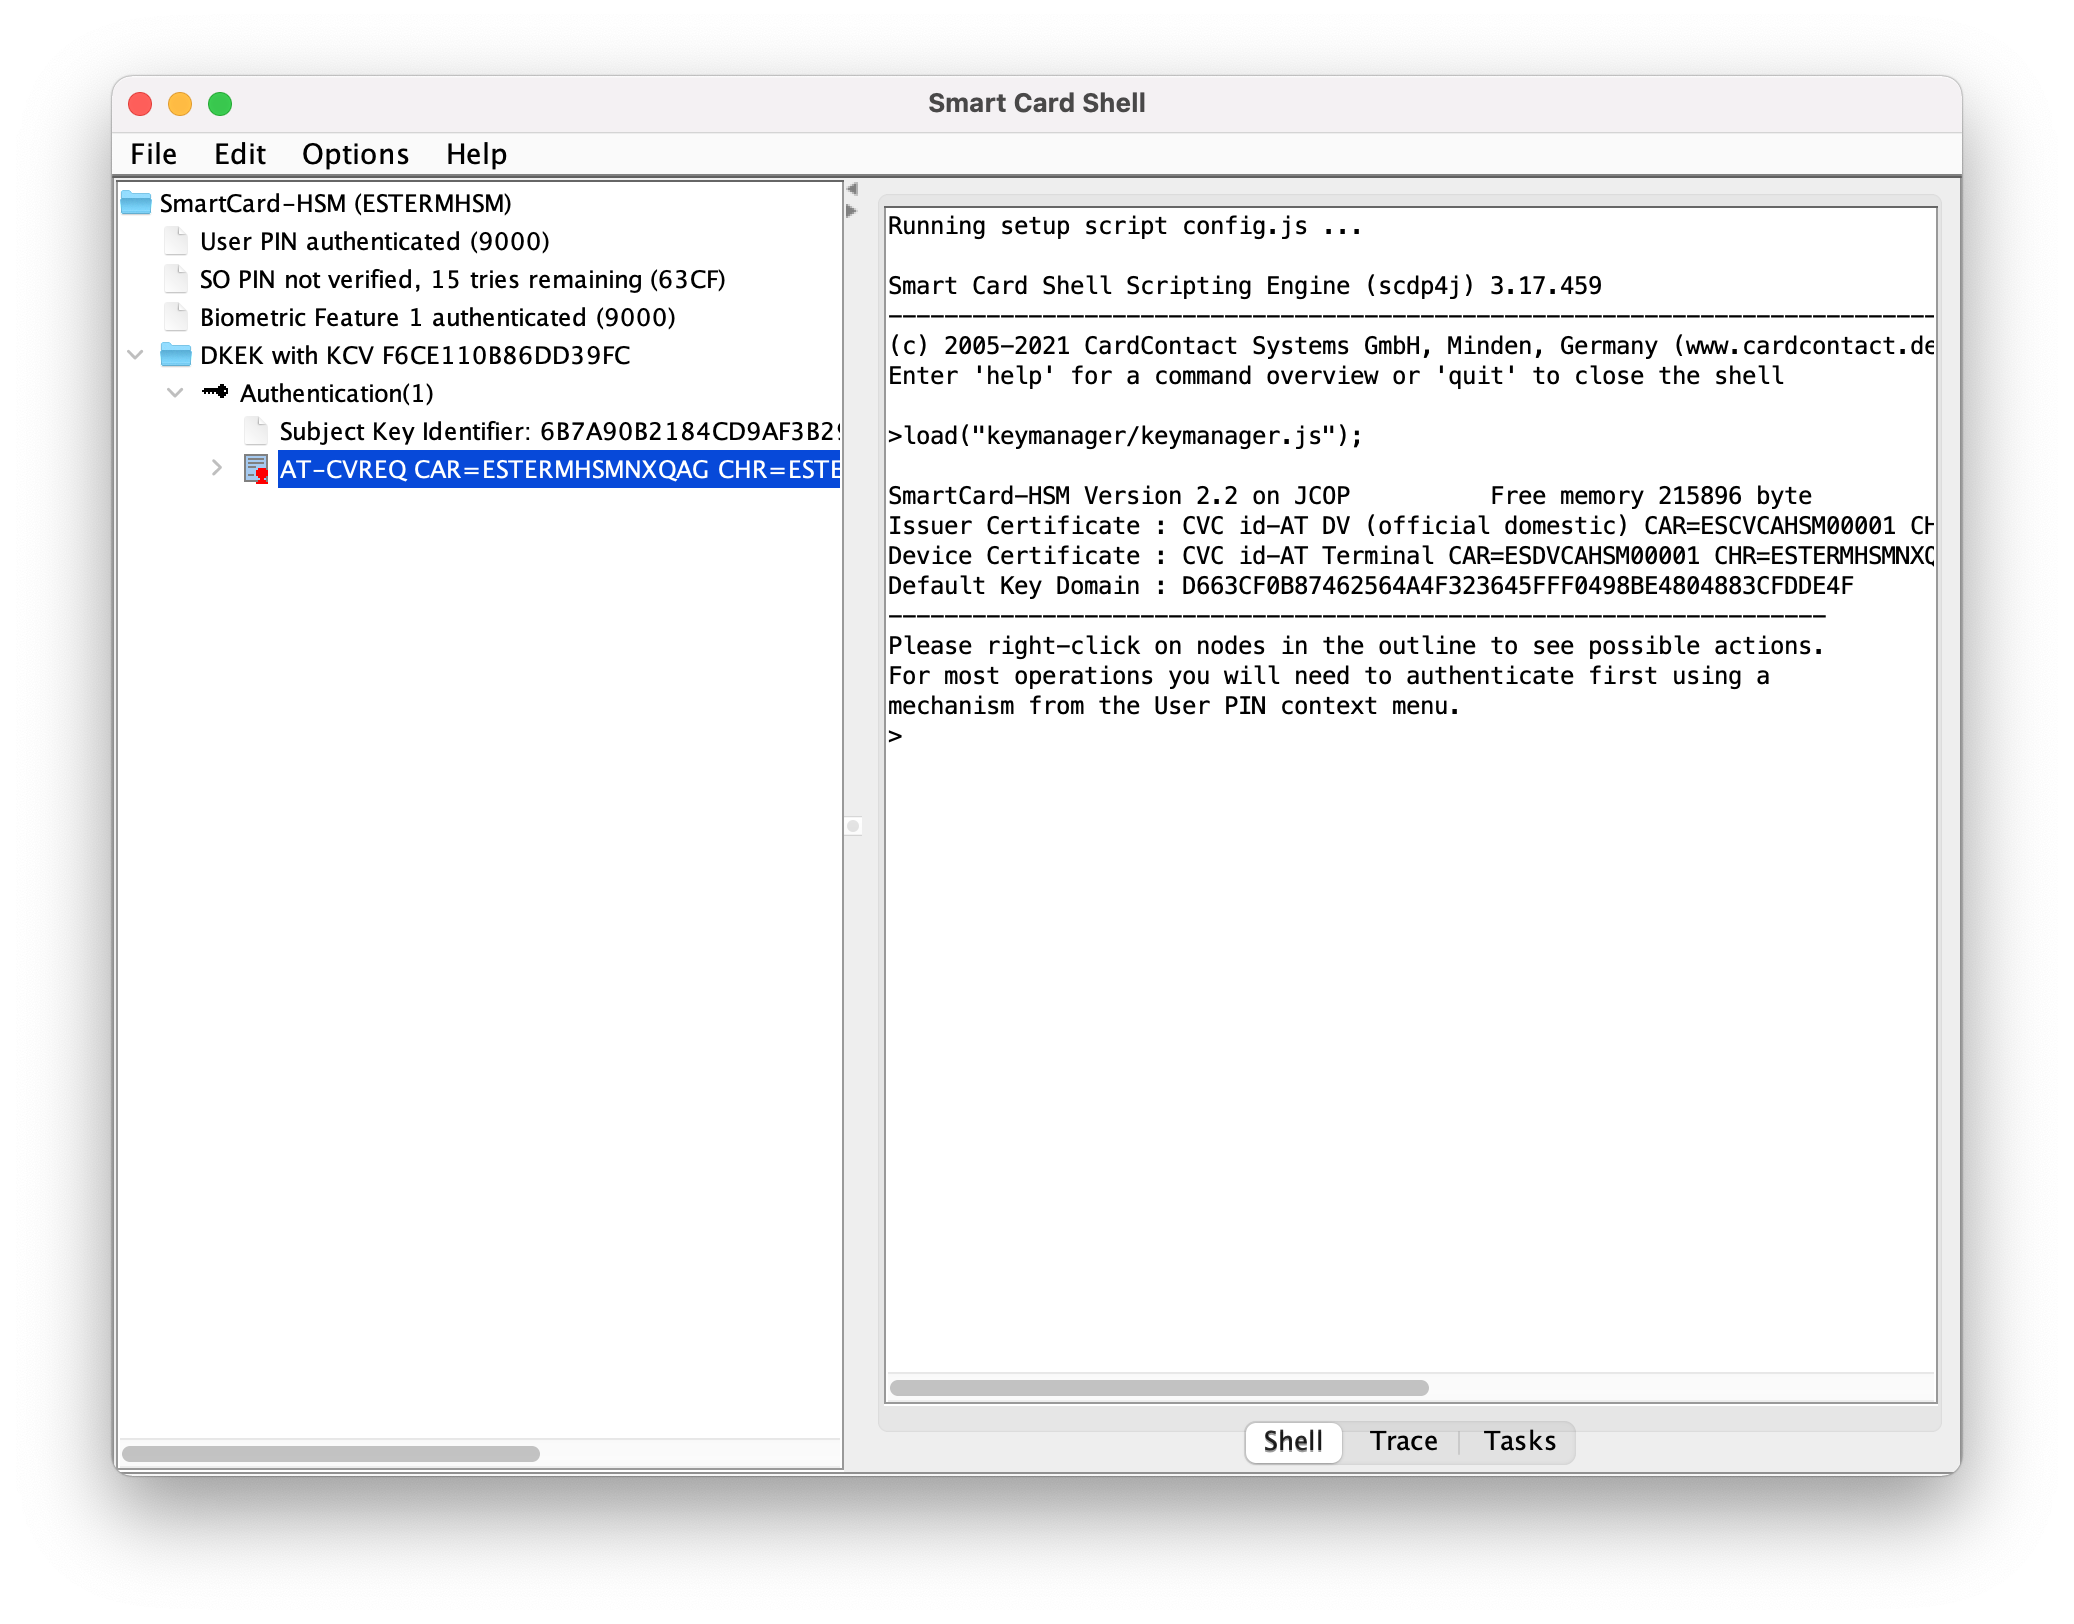
If the private key matches with the registered public key, the primary device will grant access and it will display User PIN authenticated (9000) (despite no PIN is provided).
From now on, you have full access and can operate normally with the primary device.
Notes on MKEK
Pico HSM uses the PIN to protect the MKEK, which is lately used to protect private/secret keys. However, when PKA is enabled, the authentication is not performed by introducing any PIN. Authenticated privileges are granted when PKA succeeds, regardless of PIN, which is optional.
Nevertheless, it is extremely recommended to combine PKA with PIN. Note that when combined, only PKA grants authenticated privileges and PIN is used to unlock internally the Pico HSM’s MKEK. Therefore, if both schemes are setup, it is necessary to unlock the MKEK with PIN verification first. Otherwise, it will not be possible to operate with private/secret keys despite the user will be logged in.
Moreover, with this approach the device is kept safe and neither the MKEK nor the private/secret keys are stored in plain text in the device. Even though the flash memory is dumped by an attacker, it will not be possible to decipher any sensitive data or key.
Initialization of the device with PKA and PIN can be achieved with SCS3 or OpenSC:
Note: do not import any DKEK share or DKEK operation before PKA and PIN setup.
With OpenSC
Use the following command (or similar), which accepts the use of PIN parameter and PKA configuration:
sc-hsm-tool -X --so-pin 1234567890123456 --pin 648219 -K 1 -n 1 -s 1
and PKA and PIN will be enabled, jointly with MKEK protection.
With SCS3
Unfortunately, SCS3 does not allow to initialize the device with PKA and PIN at the same time, though it can be achieved in separated steps:
- Initialize the device with PKA. When done, the PIN will not be initialized but it will advice that 3 attemps can be performed.
- There is NO default PIN. So, DO NOT attempt to log in yet. A reset PIN shall be requested.
- Click on
Reset User-PIN, introduce the SO-PIN configured during the initialization and introduce the desired User-PIN.
When done, the device will be configured with PIN and PKA.