
Pico FIDO lets a compatible board handle FIDO2 passkey sign-ins. To get started, download the firmware for your exact board, flash it, then register the key with a website. See the Pico FIDO overview and choose the matching firmware from the Pico FIDO downloads page.
Before you start
- A board model listed for Pico FIDO and its matching firmware. Similar-looking boards can need different builds.
- A USB data cable and a computer with a supported browser.
- Plan for a lost key before using it on an important account. Passkeys on security keys are device-bound. Where the service allows it, register a second key and keep the account’s recovery method available. FIDO Alliance guidance covers backup keys and recovery.
Install Pico FIDO firmware
- Open the Pico FIDO download page, select your exact board model, and download its firmware. The firmware verification guide explains how to check the file.
- For a Raspberry Pi Pico that uses UF2, hold BOOTSEL as you connect it over USB. Copy the matching UF2 file to the mounted
RPI-RP2drive, then wait for the board to restart. - For other supported boards, follow that board’s flashing instructions. A Raspberry Pi Pico UF2 will not work on an ESP32-S3.
After the firmware starts, connect the board normally. Websites communicate with Pico FIDO through the browser’s standard FIDO/WebAuthn flow.
Register your first passkey
- Sign in to a website that supports passkeys or FIDO security keys, then open its account security settings.
- Choose Add a passkey or Add a security key. If the browser asks where to store the passkey, choose the external USB security key.
- Follow the browser prompts. Set a FIDO PIN if the site asks for user verification. Press the device button when the browser asks for physical presence.
- Name the new credential so you can recognize it later, for example, “Pico FIDO primary,” then finish the website’s registration flow.
Check that sign-in works
Sign out and sign back in with the new passkey. Make sure the browser uses the external key, asks for the PIN when needed, and completes sign-in after you press the button. Keep your current recovery method until this works. For an important account, register and test a second key before removing another sign-in method.
PicoKey App is optional
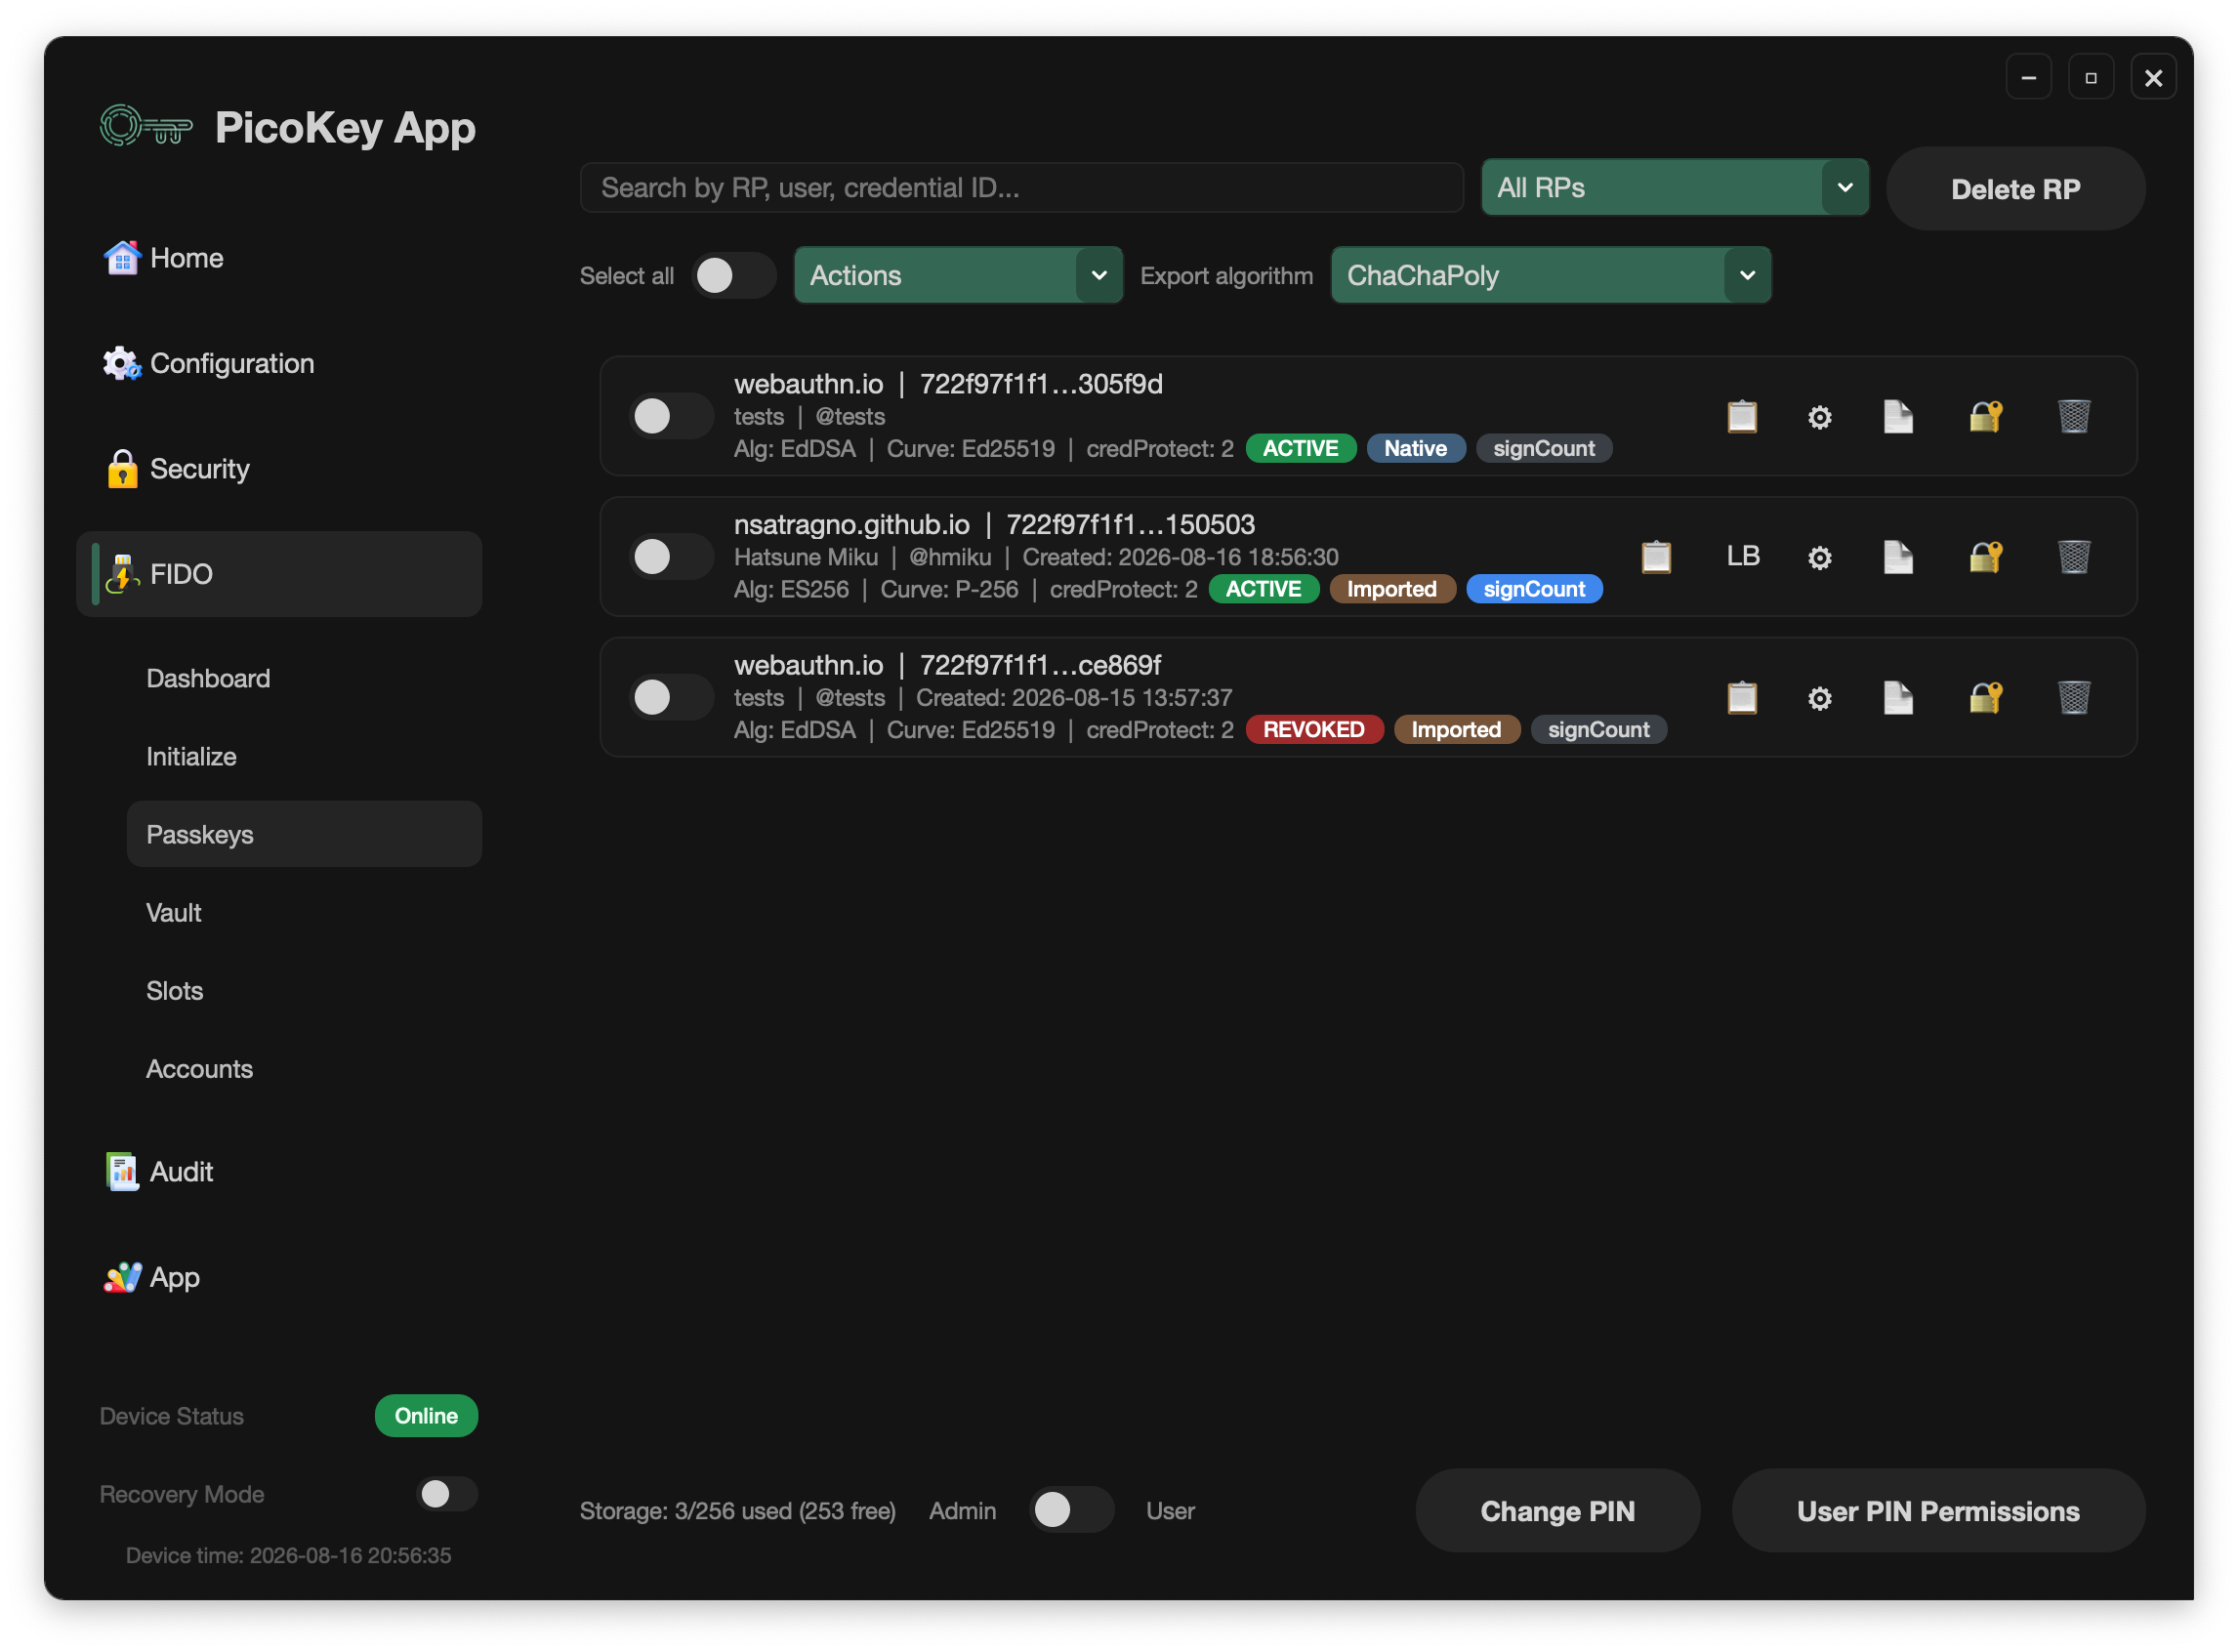
You can sign in without PicoKey App. If you use it, the app gives you a graphical view of the authenticator and the management features supported by its firmware. See the PicoKey App dashboard guide for details.
Hardware security varies by board
Board choice affects protection at rest. RP2040 does not provide the same at-rest protection as RP2350/RP2354 or ESP32-S3 hardware with Secure Boot, Secure Lock, and OTP-backed secrets enabled. Review the hardware limitations before choosing a board for your threat model.
Common questions
Does PicoKey App have to stay open for sign-in? No. The browser uses the standard FIDO/WebAuthn flow; PicoKey App manages the device.
Will Pico FIDO work on every website? It works with services that support FIDO2/WebAuthn security keys. The website and browser determine which registration options appear.
What if I lose the key? Use another registered credential or the website’s account-recovery process. To transfer credentials between Pico FIDO devices, see the Pico Vault guide.